Correction of the Alphabug + L O D
Last step to correct the Alphabug
You go in the window "Subobjects" and simply place a small X in the subobjects 2 is that where you placed your faces with transparent.
And that's all.
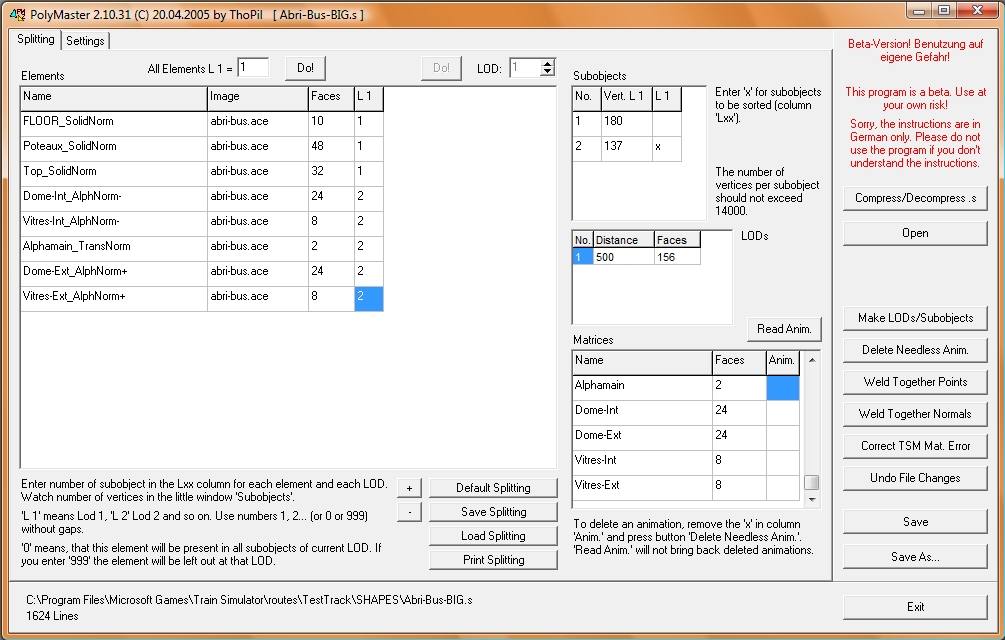
Now you can go to erase the small x which are in the window "Matrices" in the bottom, that no longer serve for the false animation.
Be careful, however, not clear who show a genuine animation.
Why not add a little L O D
For this project that we use as an example, I will add only one supplementary LOD .
Go to the next tab "Setting" to add one more LOD and set the levels like this: 250 for L1 and 500 for L2 meters.
Now to correct also the Alphabug in this 2nd level of LOD, you have to do the same operations than previous, so change the 1 for some 2 in the main window for the transparent faces and add your little X in the window "SubObjects".
L O D
In the Main window you do not make any change under the L1 column, because your model must be fully visible at 250 meters.
Under the L2 column either the visibility of the object up to 500 meters, you change the 1 or the 2 in 999 to make them disappear parts of the object.
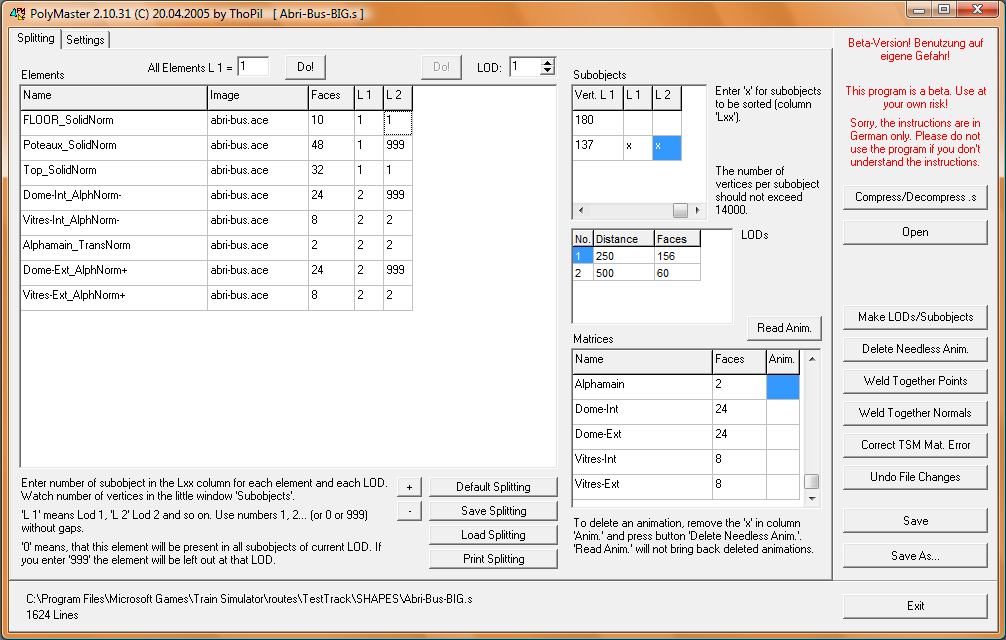
To make these changes to be made, you have to click on the button "Make LODs/Subobjects"
For this to be complete, click on one of the buttons "Save" ou "Save as"
Finally compress your .s file by clicking on the button "Compress/Decompress"
It only remains for you to move in MSTS to appreciate your changes.
|